
Baking with Julia describes boca negra or "black mouth" as an intensely chocolatey cake. Intense is the word here. There is a ton of chocolate in the cake and not much else. Well, enough other ingredients to make it super moist and dense and the kind of cake that when in your mouth, you can't help but moan a little bit. I am not exaggerating here!
Let's get to the recipe. The day or so before you actually want to eat this cake, you make the cream that goes on top. This is simply heavy cream, which is heated up and poured over 12 ounces of white chocolate to melt it all together. Add 1/4 cup bourbon and stir this magical concoction together. It is refrigerated and it forms this heavenly cream. That is it for the cream. Easy peasy. I am not a white chocolate fan and this cream was divine. Another comment from the dinner group: "I could take a bath in this cream!"

There are two methods to make the cake, by hand, or in a food processor. Since making a cake in a food processor is somewhat exciting to me, this is the route I took. And I think it was a smart one, for reasons I'll discuss in a moment. First, you put 12 ounces of coarsely chopped bittersweet chocolate in the bowl of the food processor. As you see above, I used two bars of 60% bittersweet chocolate, and 1 bar of 70% "extra" bittersweet chocolate. The grocery store only had 1 of the 70% bars or I would have probably purchased all of those. I love bittersweet chocolate!

Next, mix sugar and 1/2 cup MORE bourbon together and heat it up until the sugar is dissolved and the mixture boils and forms a syrup. Pour this over the chocolate in the food processor and process until completely blended. This takes about 12 seconds and then you have a bourbon-y chocolate paste.

Next, start adding butter, in little pieces, keeping that food processor whirling the entire time. Once you are done with the butter (2 sticks!) you add several large eggs, one at a time. Next add the flour, all 1 1/2 tablespoons. THAT IS IT!


Pour the beautiful chocolate batter into a 9-inch cake pan that has been buttered, with buttered parchment on the bottom. To bake, you will set this cake pan in a roasting pan and then fill that roasting pan with boiling water about 1 inch up the side of the cake pan. I used my tea kettle for this. One full tea kettle was exactly enough water! See the steam rise?!?
Into the oven it goes for 30 minutes exactly. At this time, the top will have formed a thin dry crust and the middle does not jiggle at all. Now, to get it out of the pan. I carefully followed the directions for this EXACTLY as it seemed like this could be critical. First, get that cake pan OUT of the hot water bath. Cover the cake pan with plastic wrap, and invert the pan onto a flat plate. Un-stick any of the plastic wrap from the sides of the cake pan, remove the cake pan and peel off the parchment. Then quickly and GENTLY invert it onto your serving platter. Now peel off the plastic wrap.

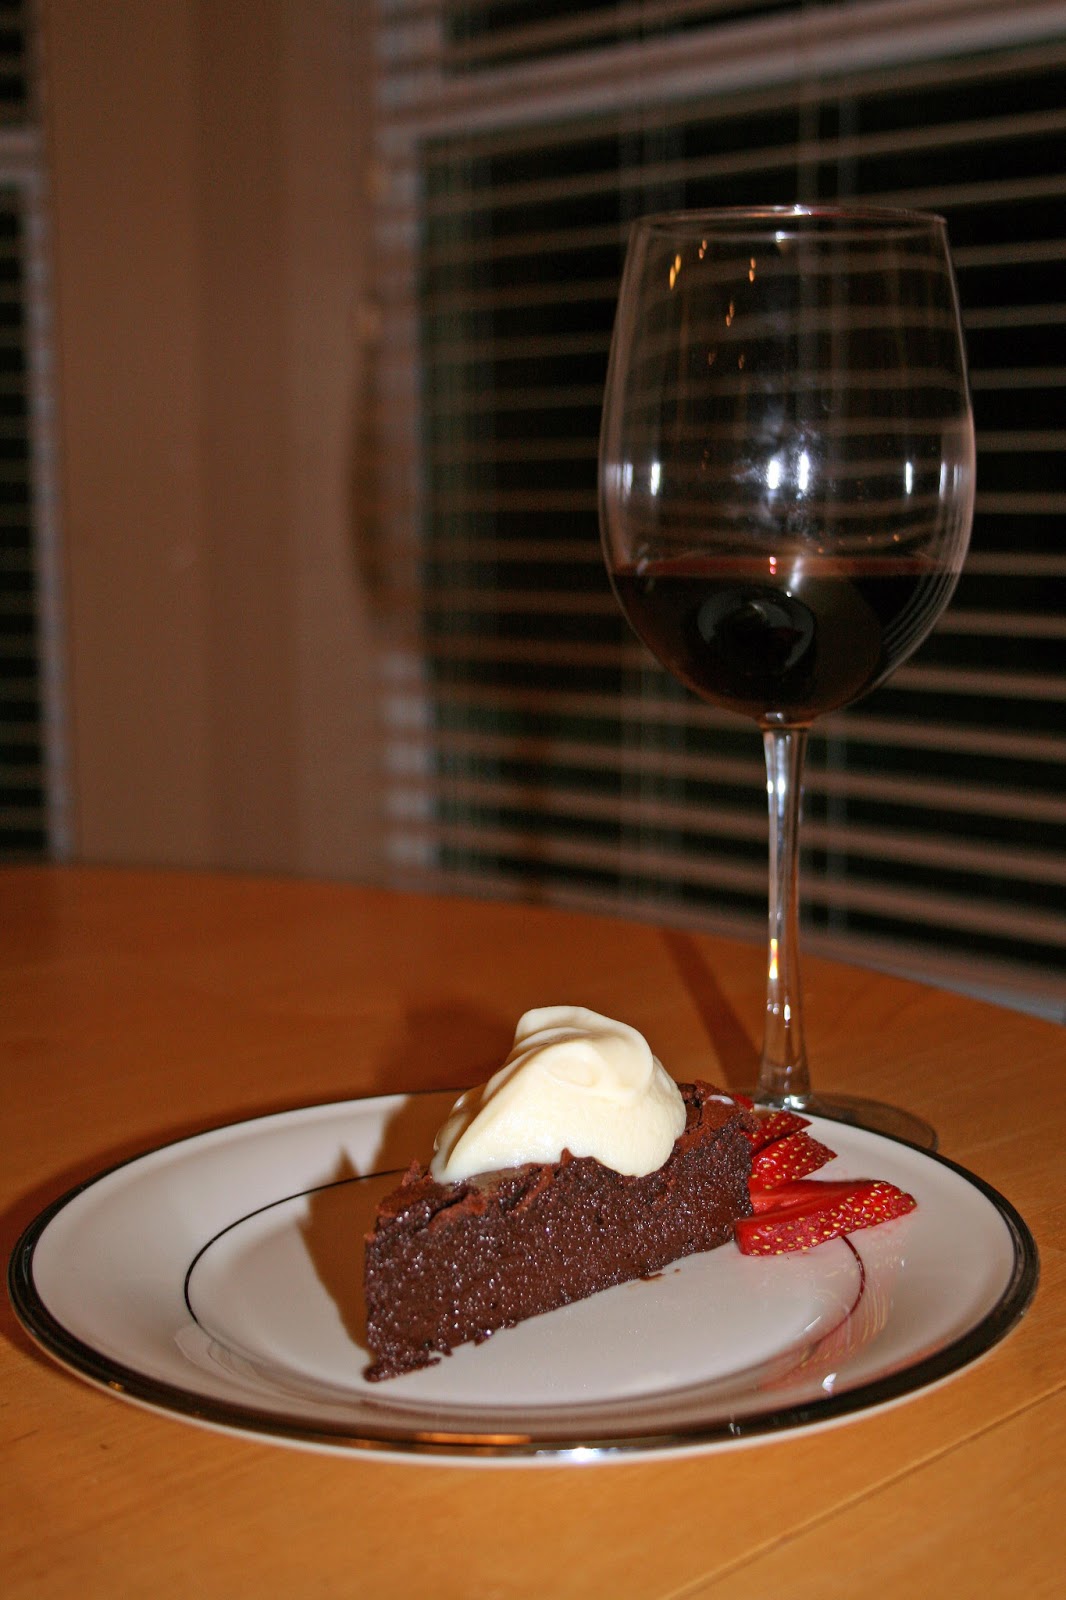
Done. This should be served warm or at room temperature, with a dallop of the white chocolate cream on top. Mine was at room temperature and it was heavenly. Warm would be potentially even MORE heavenly, if that is even possible.
I served the cake and told everyone about the dessert. Conversation stopped and all that could be heard were moans and comments about the amazing-ness of this chocolate bliss. Seriously, readers, this cake is THAT GOOD.
Get the recipe. You must make this. It is easy, AMAZINGLY delicious, and it will totally wow your friends and family! The recipe can be found on pages 253-254 of Baking with Julia, and is posted on our hostess' blog, A Frederick Food Garden.
I had a small sliver of the remainder of this cake last night. Still delicious. Could this cake have anything to do with having a high level of glucose/sugar in my system this morning at my obstetrician visit?? I did tell him about the cake and he wants me to make him one. Hmmm... If he guarantees that my epidural WORKS this time, that may be worthy of bringing him Boca Negra. We'll see...
I agree - the food processor made this one such a breeze. How easy was that?
ReplyDeleteI would use this cake to bribe whoever I could - most definitely an obstetrician!
I will definitely be making this again... maybe for my obstetrician... we'll see what kind of guarantees I can get. Since this dessert is so easy, maybe I can actually accomplish it post-childbirth!
DeleteHahaha! Love that everyone groaned amazing! well done on a delicious cake.
ReplyDeleteThanks! It was loved all-around! Success!
DeleteLove all your pics of the steps! They all look great. And I agree, using the food processor was the way to go. I tried using the blender to start, but even that couldn't handle how thick it got. I then scooped everything out of the blender and moved to the food processor....and it was a piece of cake! This really is a superb cake. I could not say enough good things about it! (and I'm generally very critical of my baking) But I swear every bit I took, I made a comment or moan! :)
ReplyDeleteI agree! This cake was definitely moan-worthy.
DeleteIsn't it awesome that something so simple is so devine! Loved this. Your cake turned out perfect!
ReplyDeleteSharron, I placed the stencil on the still warm cake and sifted cocoa powder over the heart shapes. They darkened over time. Thank you for your kind words on my post. :)
DeleteP.S.: Love the big girl bed! She is absolutely adorable.
Brilliant! Thank you!
DeleteGreat work on the cake and step by step photos! I served this to a group of 12, we finished the cake (!) and there were also murmurs about how amazing the cake was.
ReplyDeleteYes, definitely a cake to serve to a group. Can you imagine having this entire cake in a house just for you and your family? That would be DANGEROUS!
Delete